The Problem
The animation team cleaned up the mocap in Maya but the film was rendered within Unreal Engine leading to an enormous amount of animations that needed copying across. Manually doing this process isn’t difficult but becomes tedious quickly. The tool significantly increased the efficiency of the migration team.
Before this tool, each shot required artists to manually export dozens of FBXs, import them into Unreal, find the correct shot folders, create animation sequences, spawn actors, and wire everything into the Level Sequence by hand — a process that scaled poorly and was highly error-prone.
Solution Summary
This tool automates the end-to-end process of transferring cleaned motion-capture animation from Autodesk Maya into Unreal Engine for final-pixel rendering. Built to support a film pipeline where animation was authored in Maya but assembled and rendered in Unreal, it removes the need for repetitive manual exporting, importing, and sequence setup across large numbers of shots.
The Python tool launches a headless Maya session to bake animations to the correct playback range, then exports animation sequence, facial control board, and camera data as FBXs using strict naming conventions to preserve scene and shot context. On the Unreal side, it automatically imports the animations into the correct shot-level folder structure, spawns the required actors into the animation sub-level, and assigns the animation sequences directly into the shot’s level sequence.
A CSV-driven mapping system links each animation to its correct blueprint and skeleton, allowing the tool to intelligently apply animations across all compatible skeletal mesh components without manual setup. By handling both asset management and sequence assembly in a single run, the tool significantly reduced human error and cut shot migration time from hours to minutes, dramatically improving throughput for the animation migration team.
Setting up the Tool
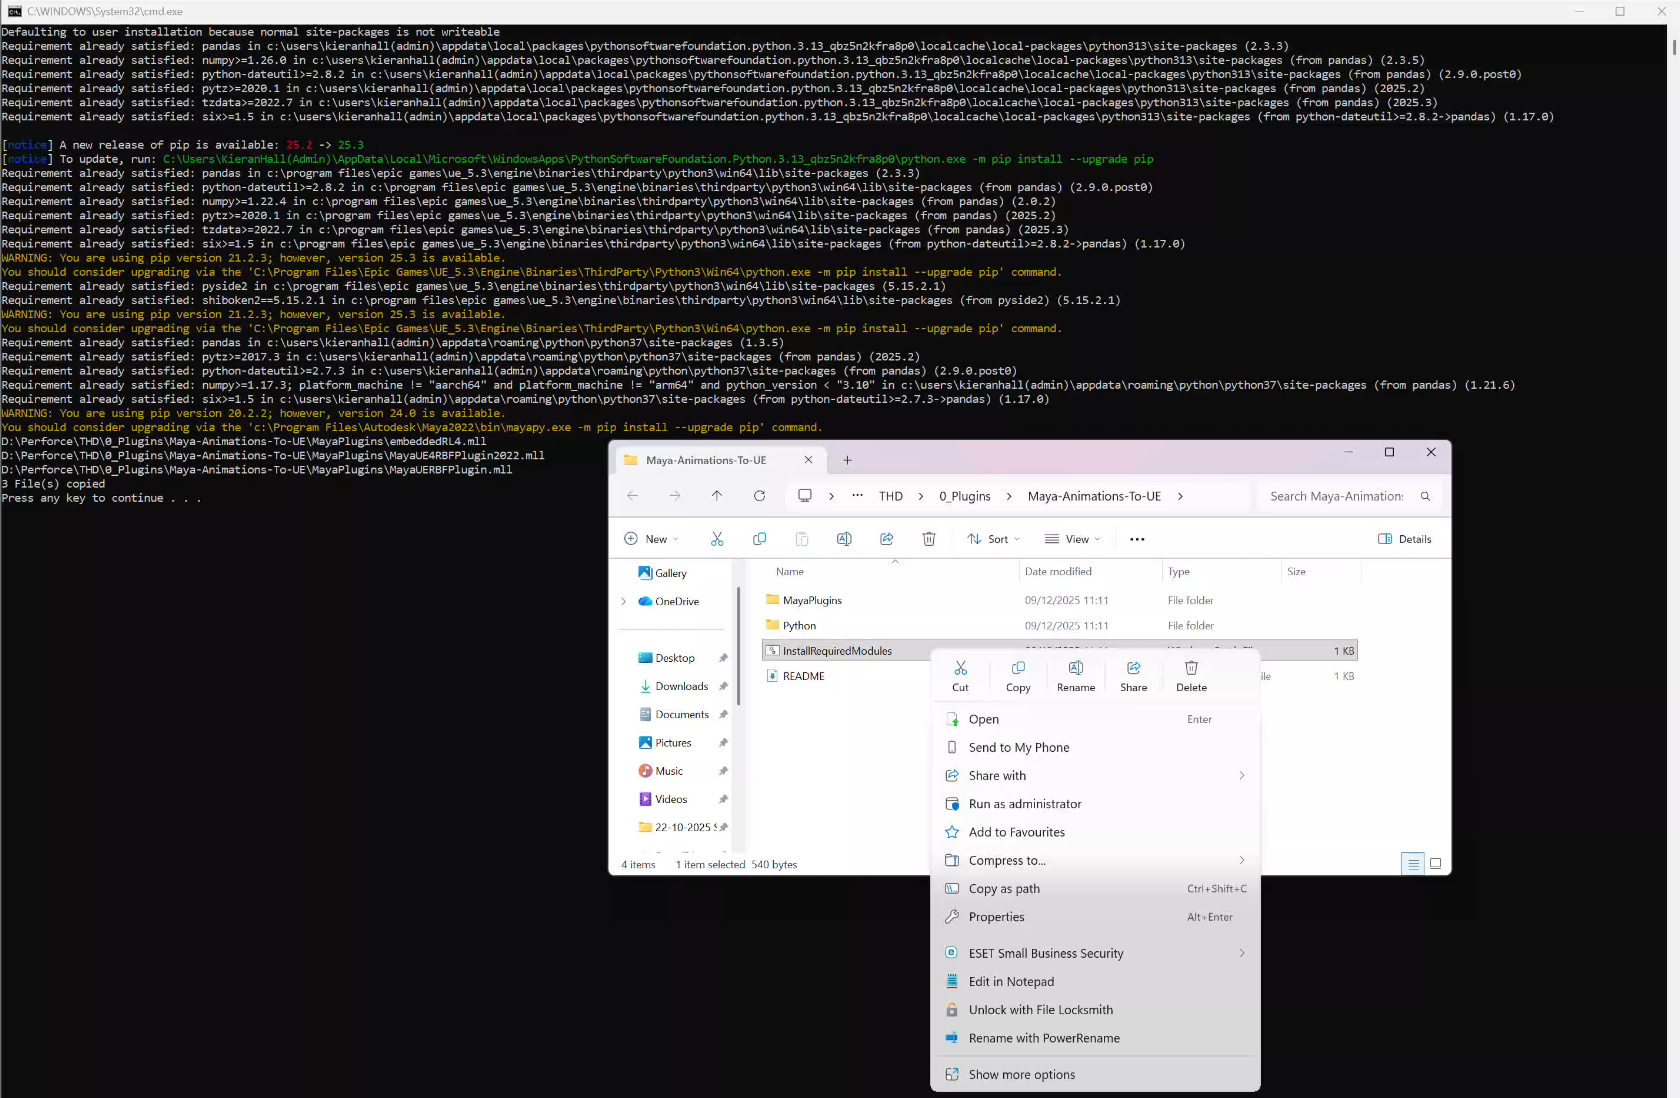 In order to set up the tool you need to run a .bat file I created to install pandas and pyside 2 into Unreal Engine 5.3’s Python, and pandas into Maya 2022’s Python. It also copies over some plugins into the Maya 2022’s bin plugins folder that enable the Metahuman DNA file to load when the headless version opens up.
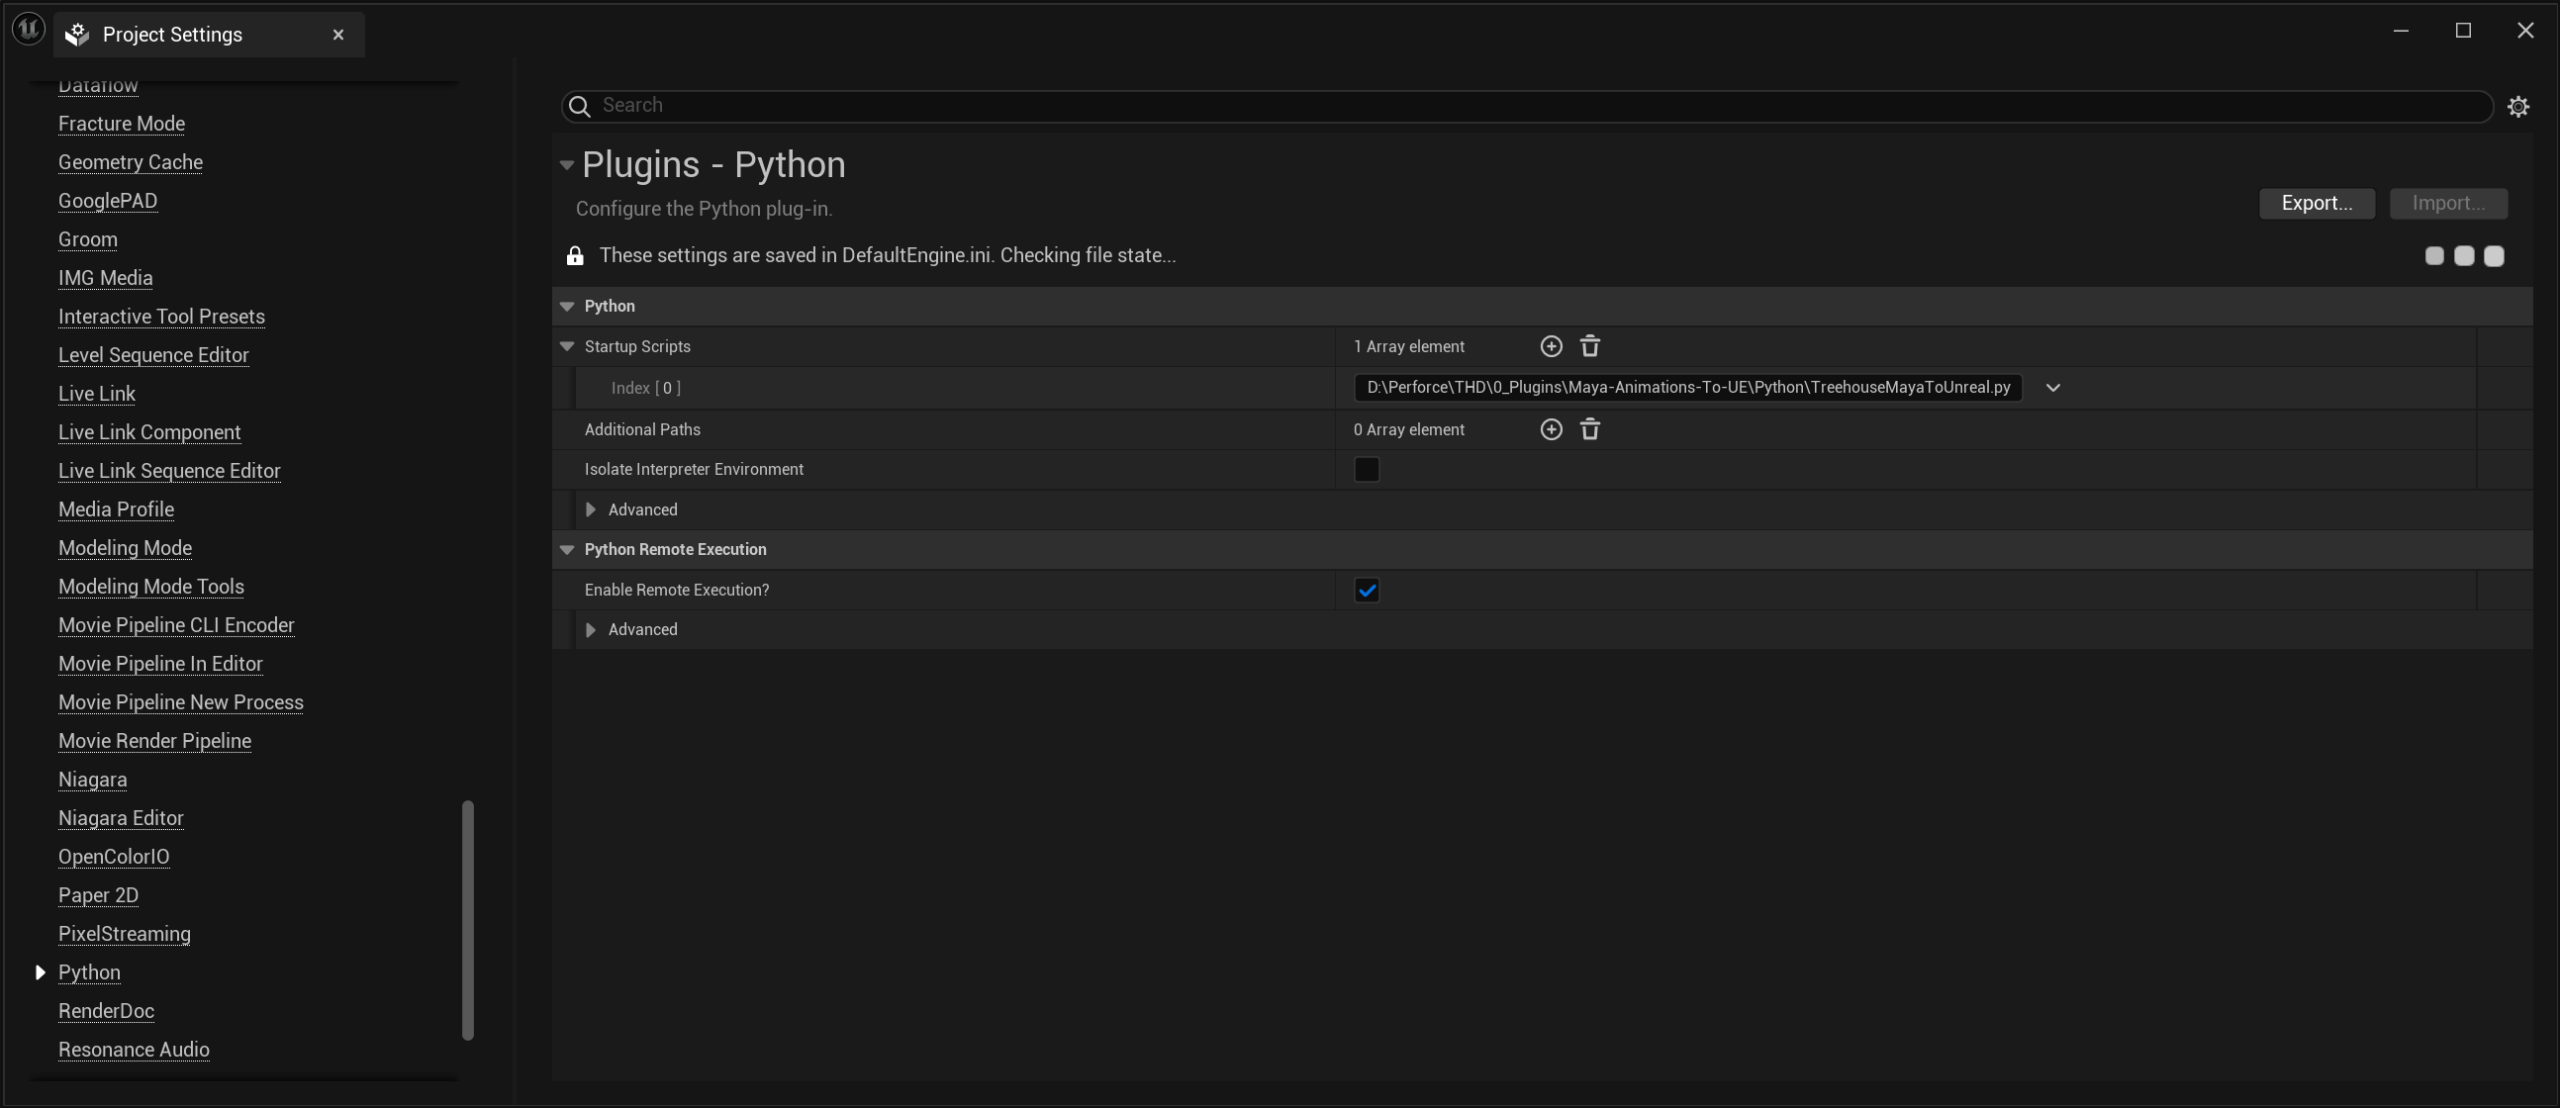 It’s also required to add in the project settings the Python script as a start up script in order for the menu options to appear.
Running the Tool

The menu now has a new drop-down list option that’s used to run the tool
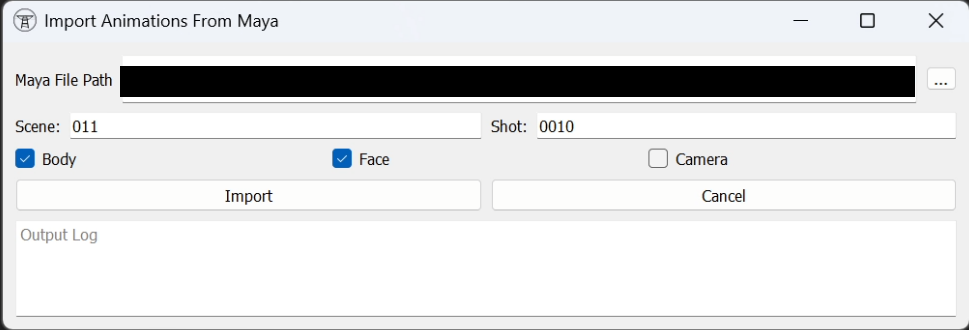
The user interface is made using the pyside 2 library. The user selects the Maya file of the shot they want to export out of Maya and import into Unreal. The tool automatically extracts the scene and shot numbers from the directory/filename using regular expressions, if it can’t find the pattern the scene and/or shot number fields are left blank for the user to fill in. Body is used for regular animation sequence export/import whereas face uses another python library made for exporting metahuman face animations as control board FBXs. Disabled the camera tick box because I didn’t develop this aspect of the tool.The tool won’t allow the import if the scene or shot fields are left empty or if the tickboxes are all unticked.
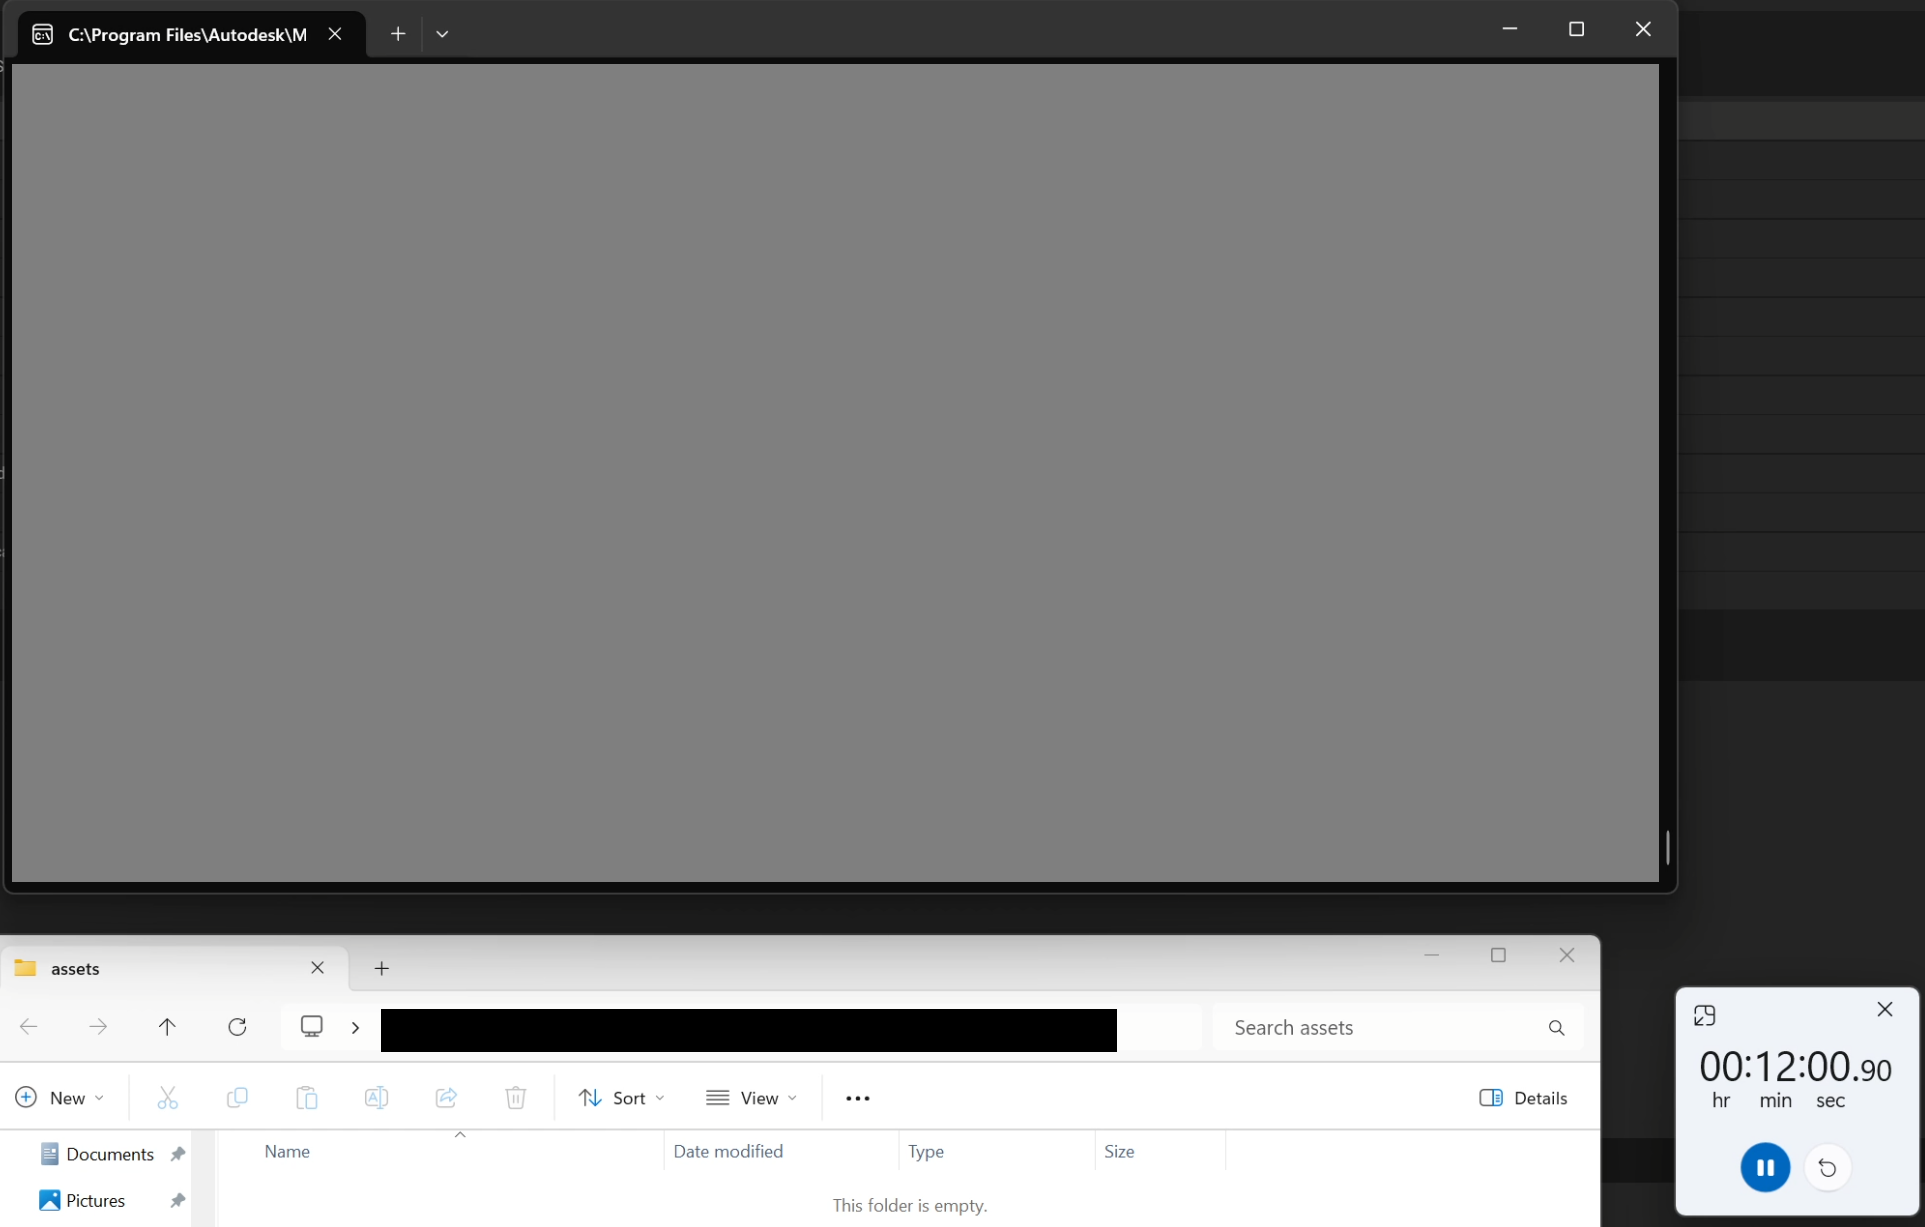 It takes 12 minutes from the import button being pressed, to the animations being baked down to playback range within the headless version of Maya.
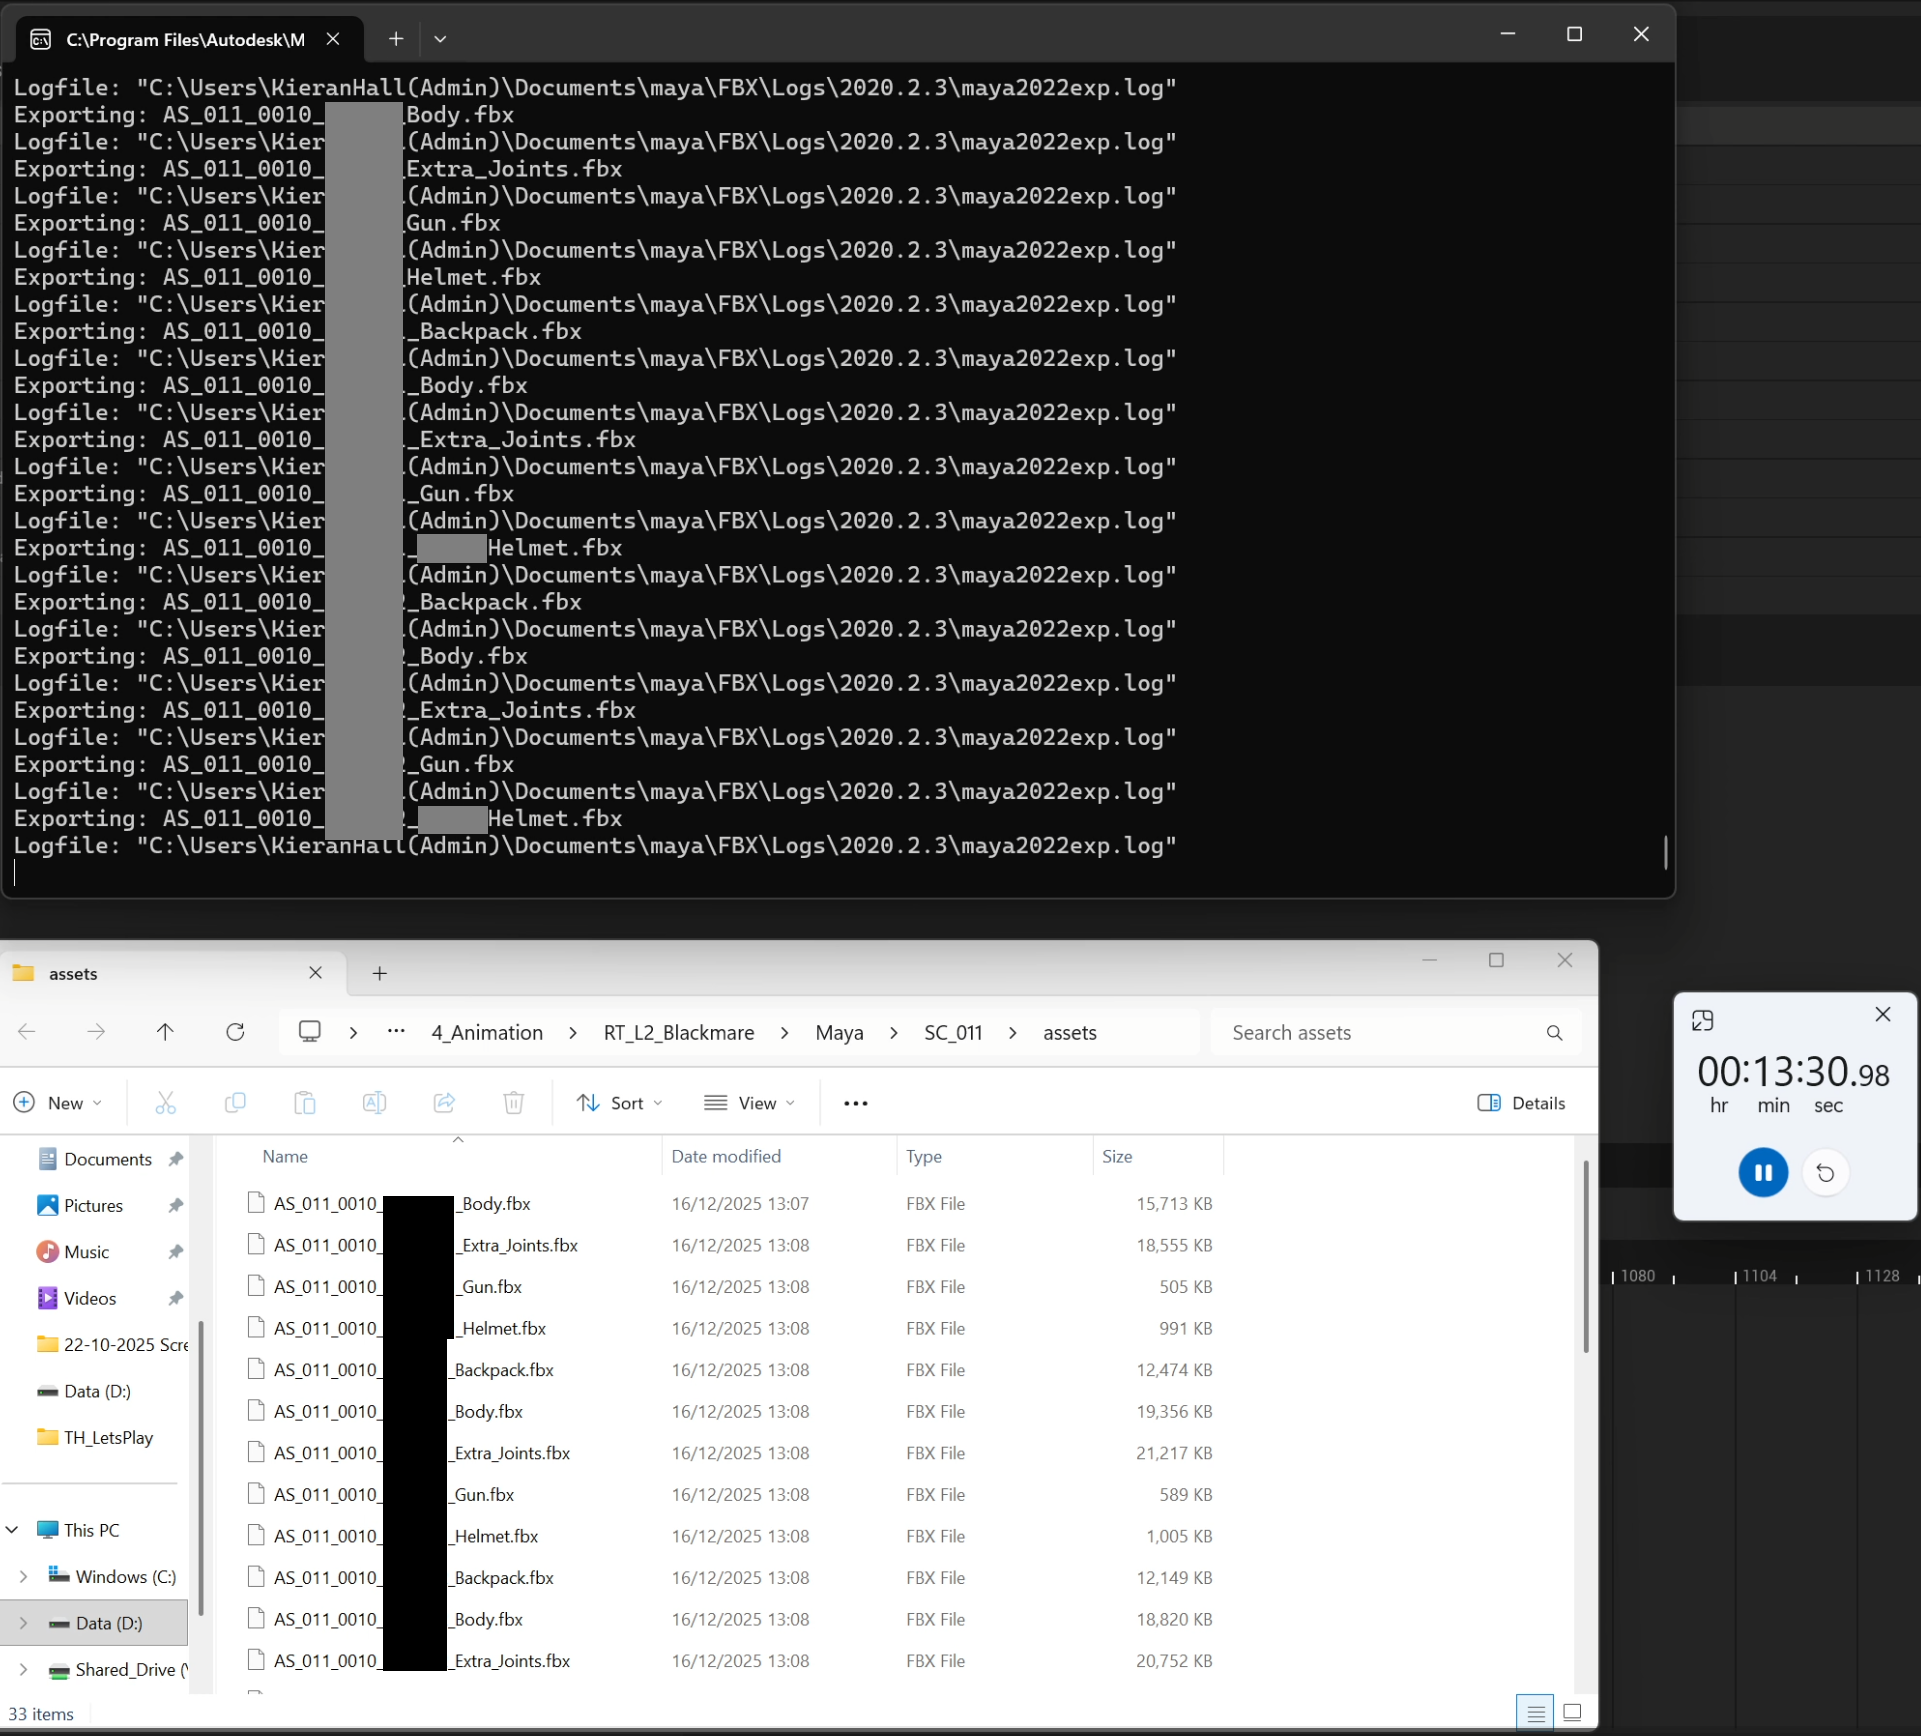 Takes until the 13:30 minute mark (1 minute 30 seconds from the bake) for the FBXs to export. In this shot there are 7 characters, each with a gun, backpack, helmet, default metahuman body (Body) and extra bits of costume (Extra_Joints). The naming structure used is AS_SceneNumber_ShotNumber_Name_OptionalTag.
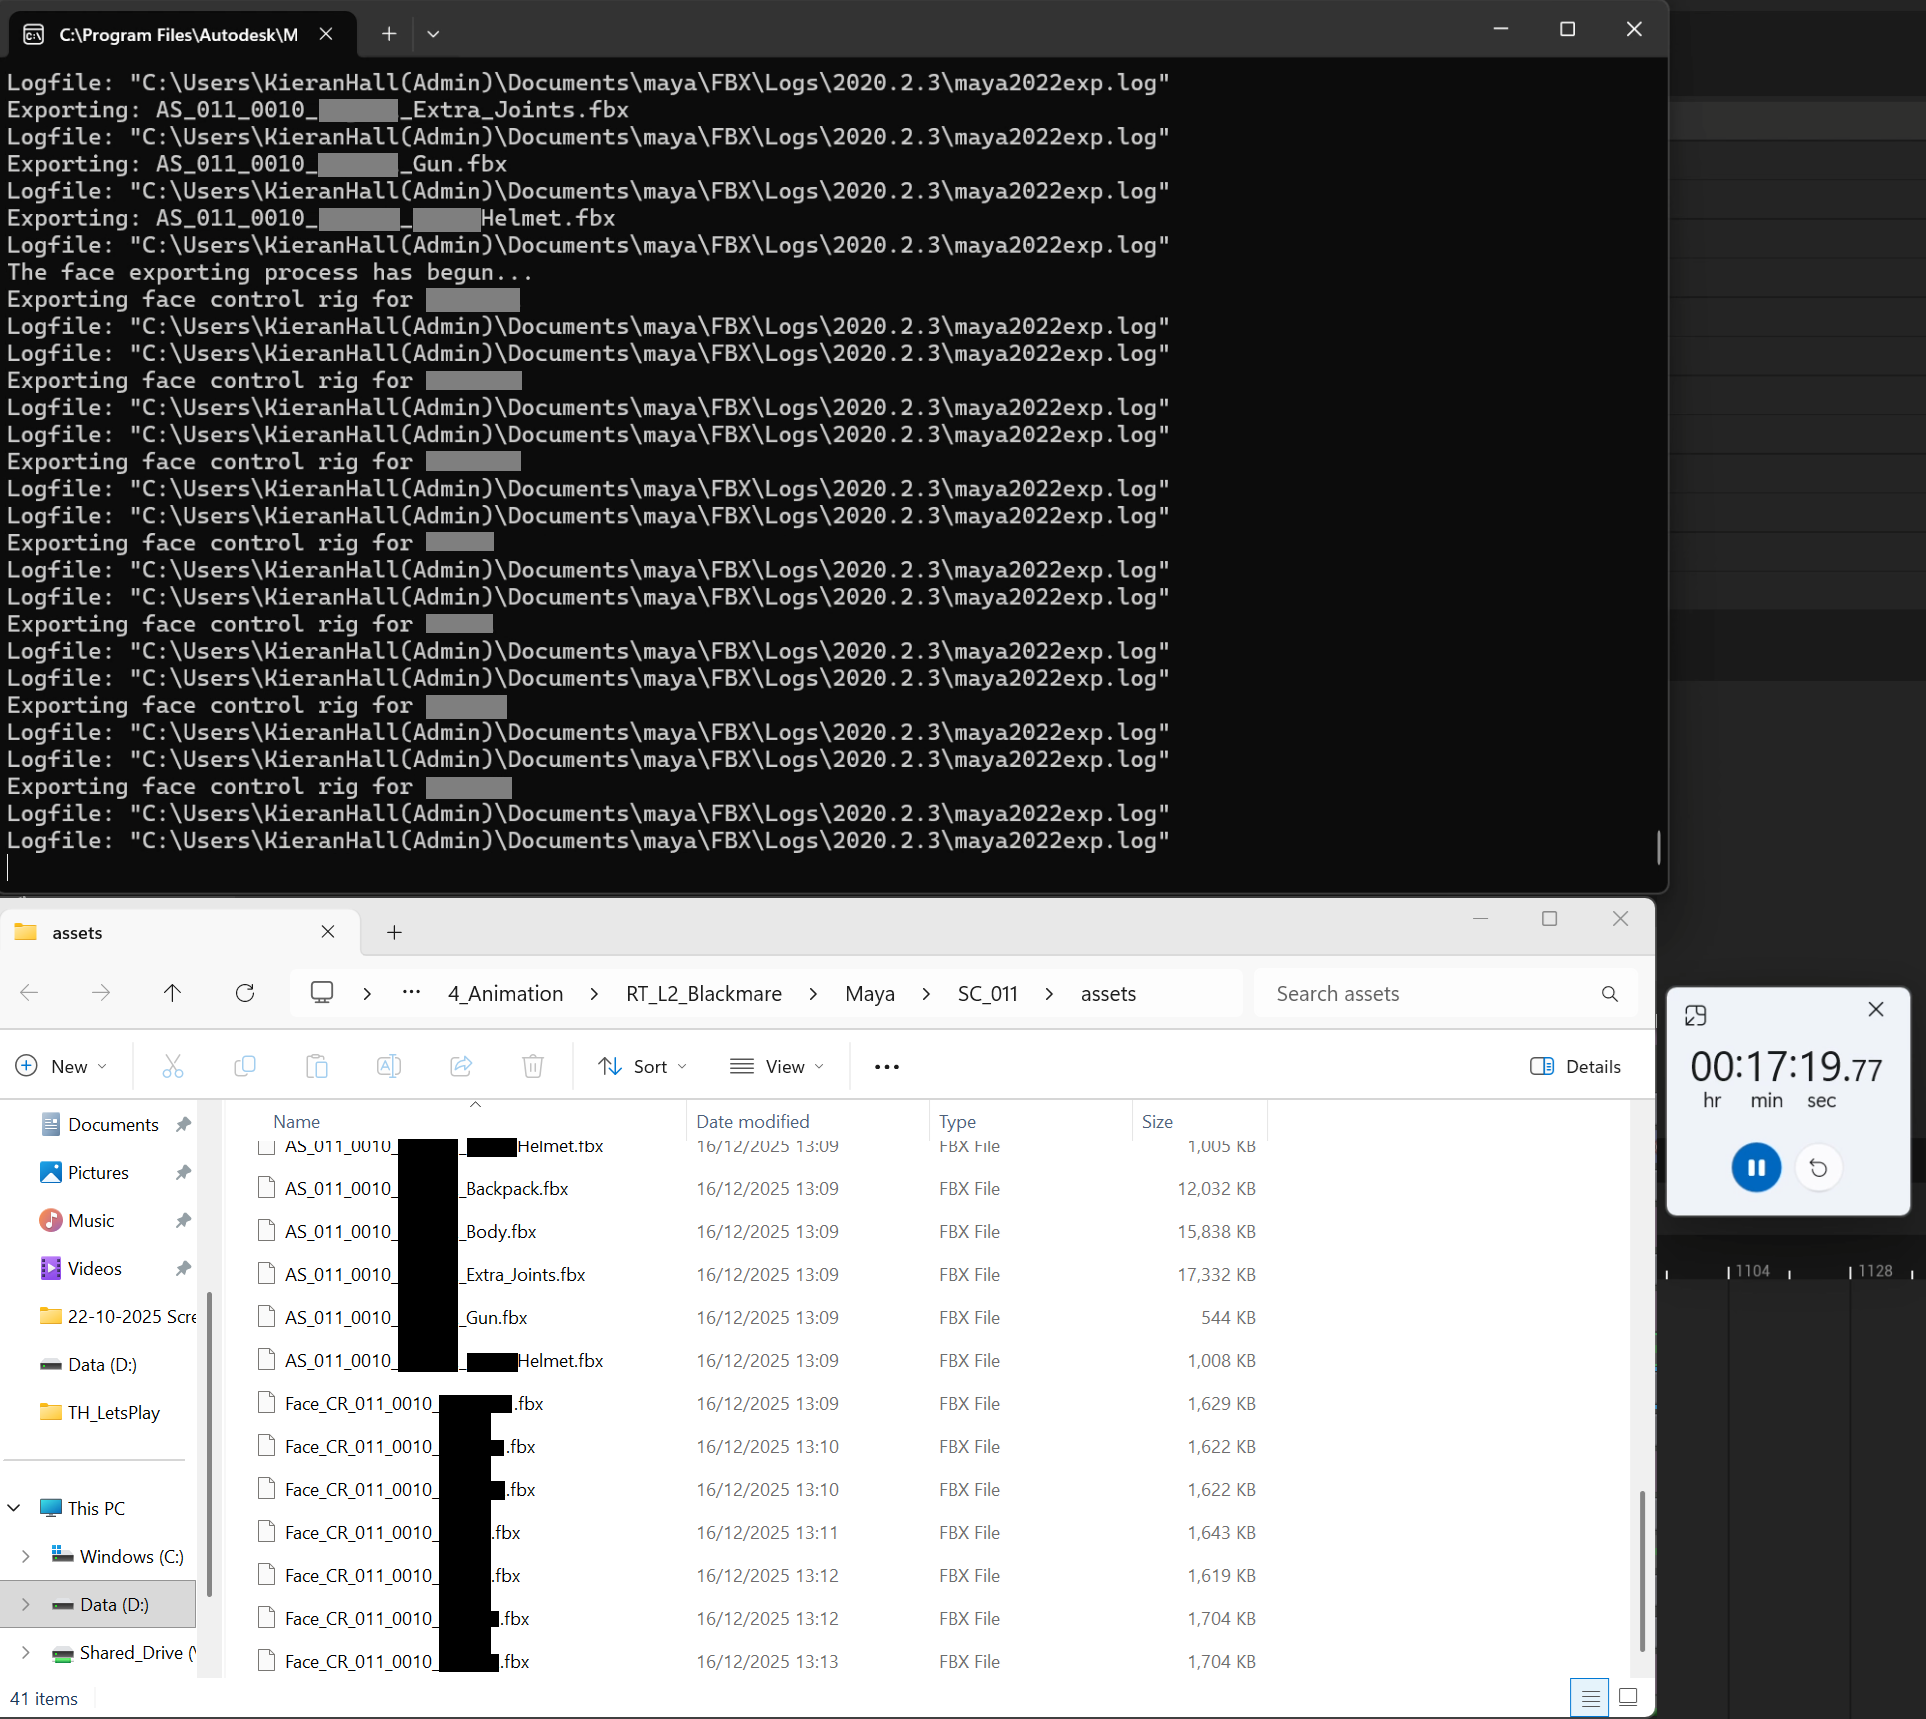 Takes until the 17:19 minute mark (3 minutes 49 seconds) for the metahuman face animations to export. The naming structure used is Face_CR_SceneNumber_ShotNumber_Name.
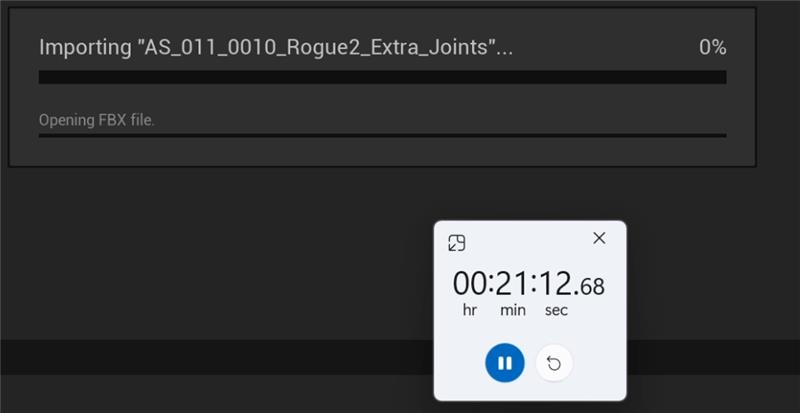
Takes until the 21:12 minute mark (3 minutes 53 seconds) for the Import Unreal side to finish.
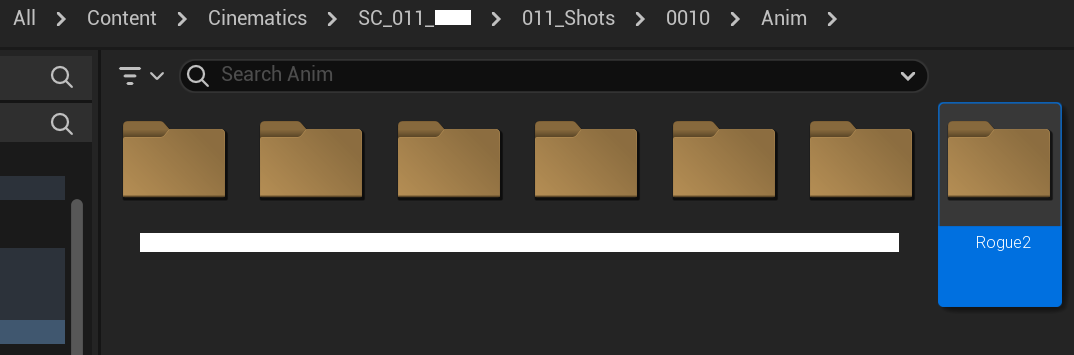
The animation sequences are imported into the Content Browser, using the same shot structure that’s generated by the Sequence Builder. The FBX’s filename decides where it’s imported into the Content Browser, for example AS_011_0010_Rogue2_Backpack. Using the Scene Number (three digits) and Shot Number (four digits) within the filename of the FBX, it narrows down which shot’s Anim folder to place the animation sequences into, which in this case is /Content/Cinematics/SC_011_TMP/011_Shots/0010/Anim/. A folder is made for each name.
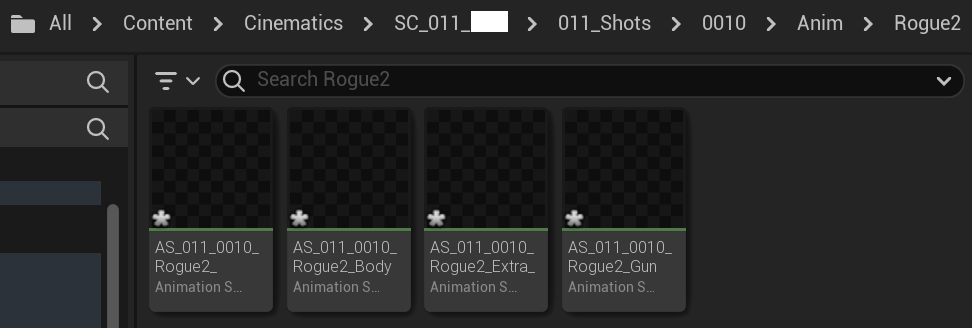
All animation sequences with that name regardless of the optional tag appear in that folder
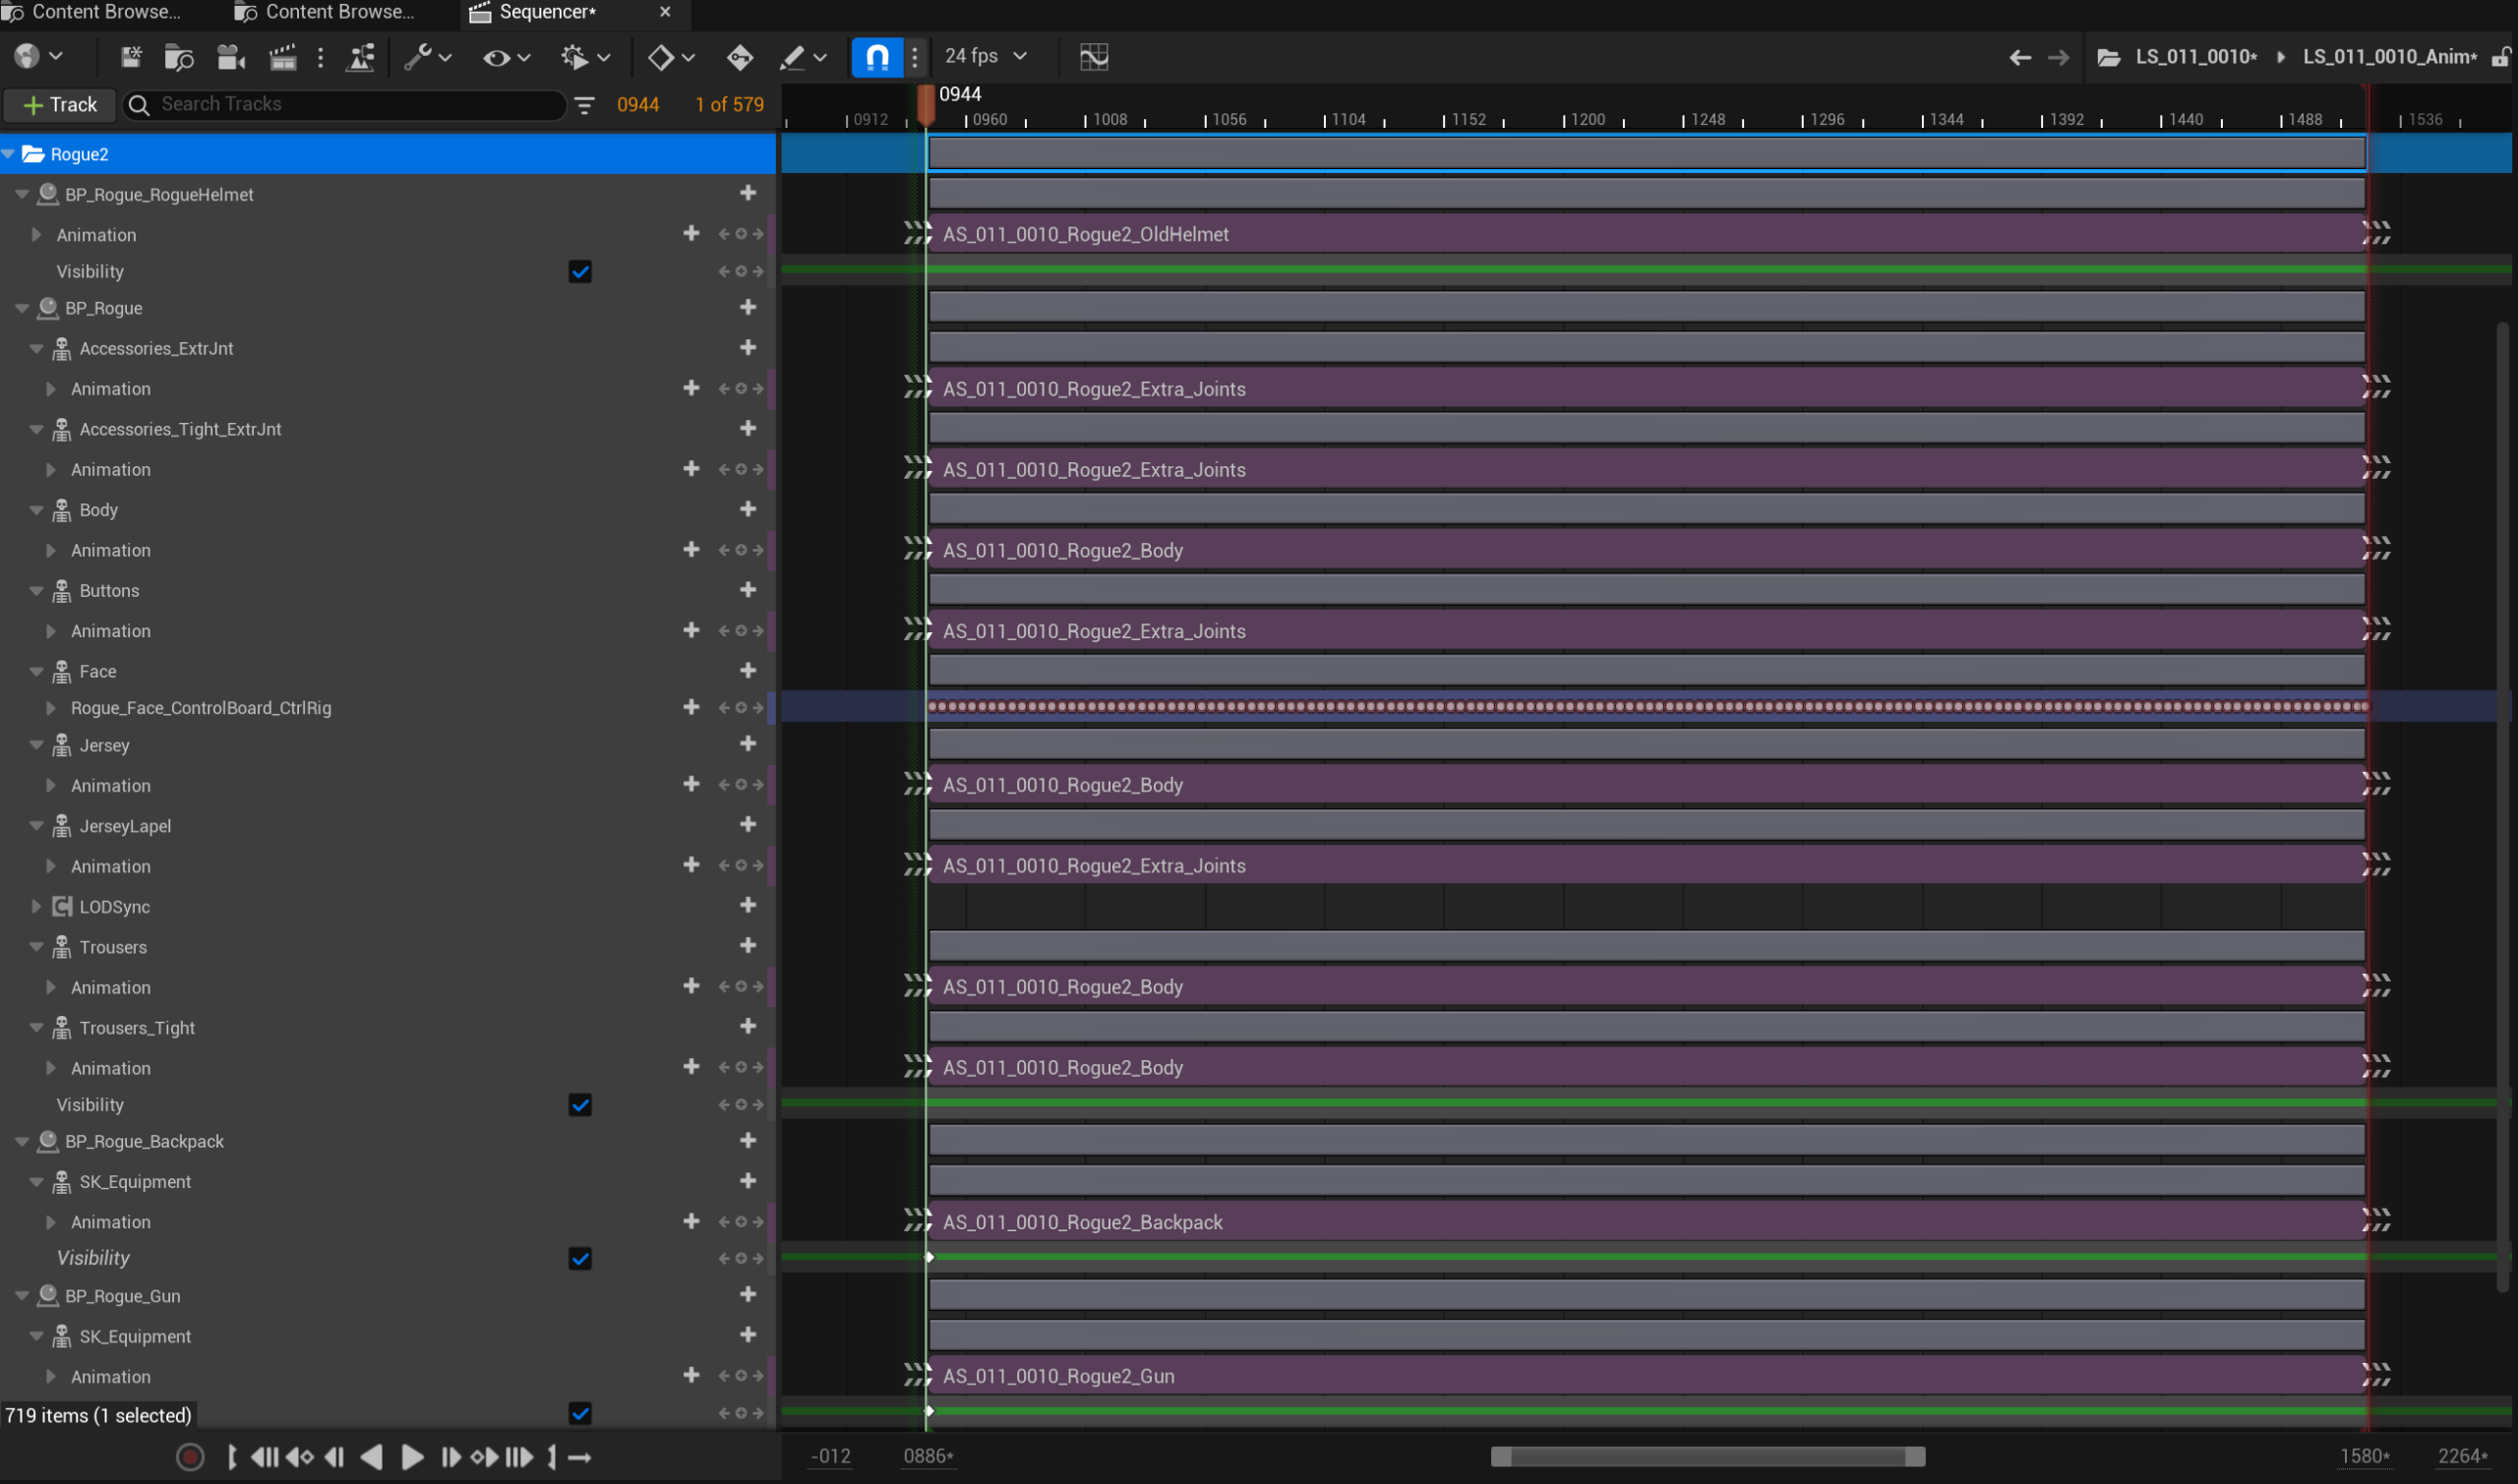 The tool references a large CSV file that maps each animation to its corresponding blueprint and skeleton. The CSV stores the file paths for both, allowing the tool to automatically apply the correct animation to every skeletal mesh component within the blueprint that uses that skeleton.